How to Download, Install and Use ExpressVPN on LG Smart TV
3 min readEven though LG Smart TVs don’t support VPN applications natively, ExpressVPN has come up with a solution that lets you unblock media content. With that said, we’ll show you how to set up and use ExpressVPN on your LG Smart TV.
1. First, start by subscribing to ExpressVPN (click on the provided link).
2. Once you get to ExpressVPN’s website, click on ‘Get ExpressVPN.’
3. Select a subscription plan, enter your email address, and proceed with the payment.
4. Once done, you will receive a confirmation email from ExpressVPN, so check your inbox.
5. Then, return to ExpressVPN’s website. Make sure to be on its homepage.
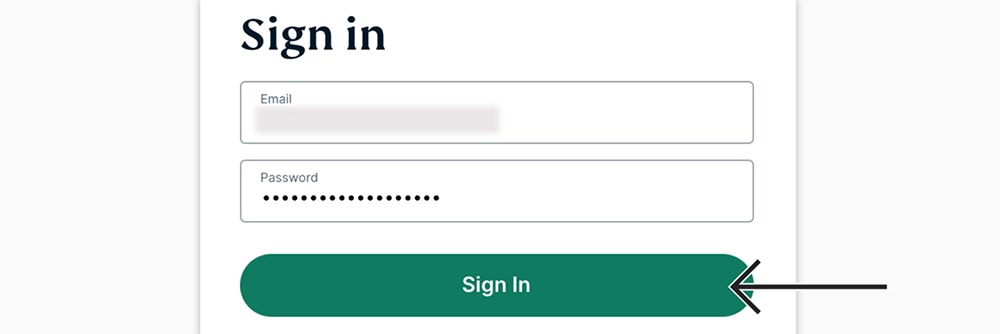
6. Click on ‘My Account‘ and log-in using your email address and password.
7. If asked for a verification code, check your inbox and paste it from there.
8. At this moment, you should access your online dashboard. Click on ‘DNS Settings.’
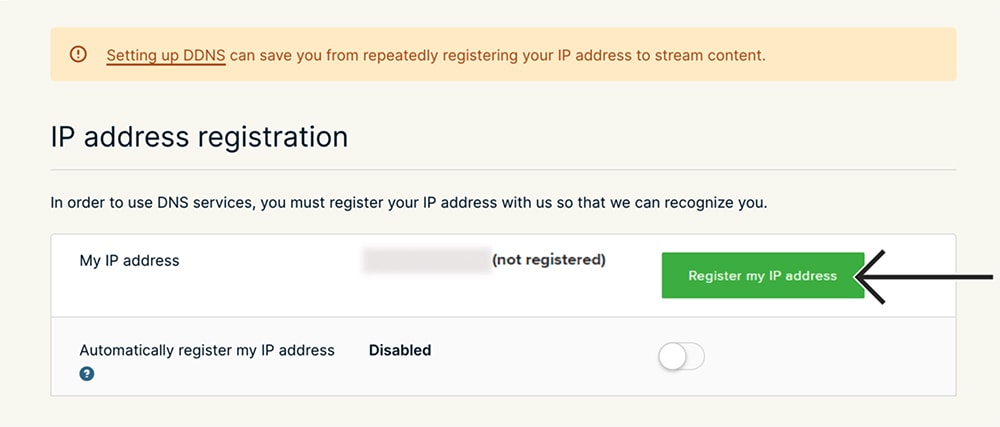
9. First, click on the ‘Register My IP Address‘ button (under ‘IP Address Registration’).
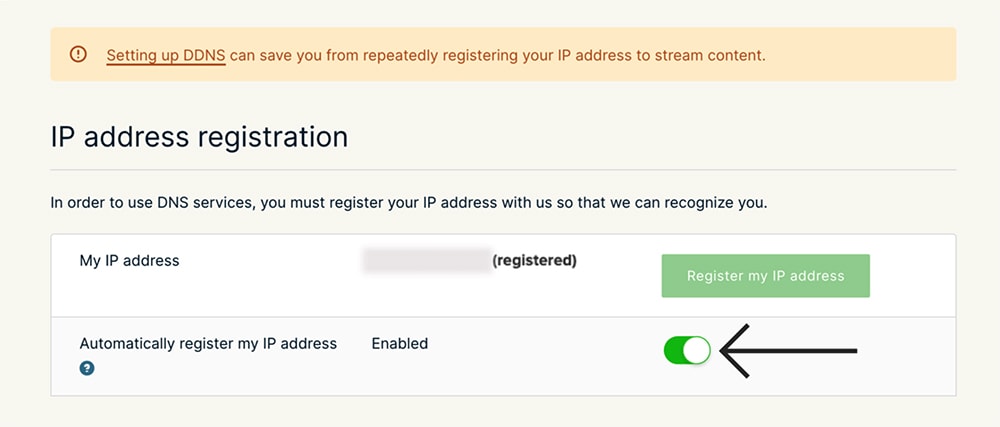
10. Then, click on the switch next to ‘Automatically Register My IP Address.’
11. Double-check if everything is enabled properly (no errors should appear).
12. Now, return one step (to your ExpressVPN online dashboard).
13. Click on ‘Set Up Other Devices‘ using the top-placed banner.
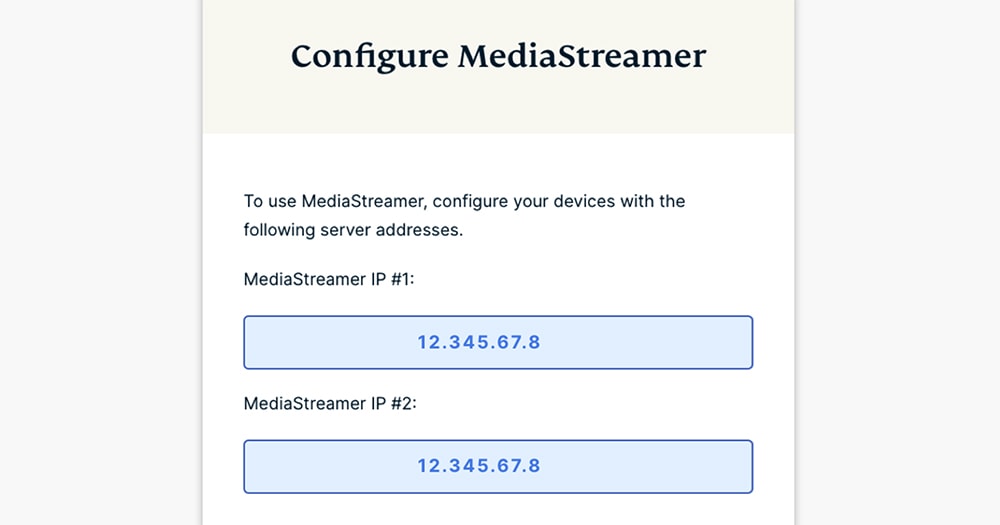
14. Pick ‘MediaStreamer‘ among the supported devices on the right-hand side.
15. On the left, you should see your DNS server IP – so, keep this page open.
16. Turn to your LG smart TV for the rest of this procedure.
17. Begin by press the gear-shaped ‘Settings‘ icon using your LG TV’s remote.
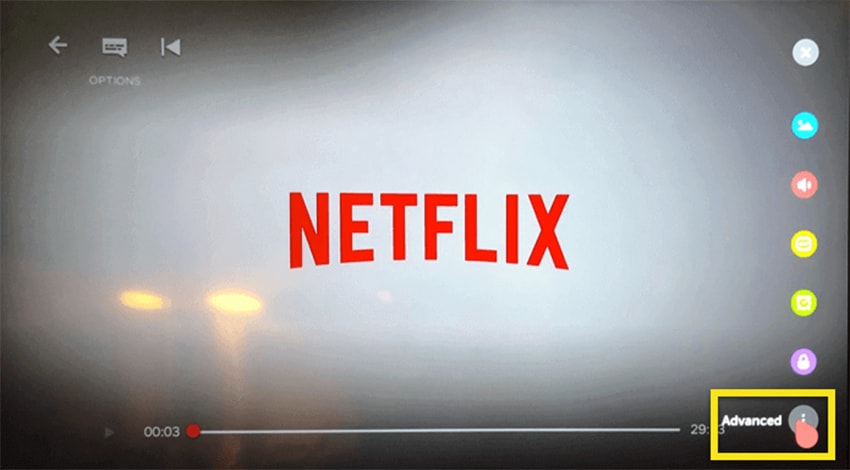
18. Navigate to the icon resembling three vertical dots (called ‘Advanced‘). Select it.
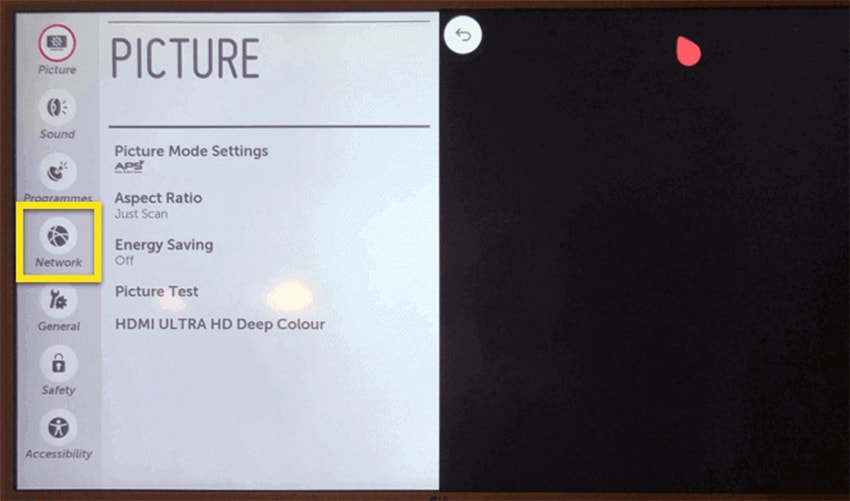
19. Using the right-placed sidebar, pick ‘Network.’
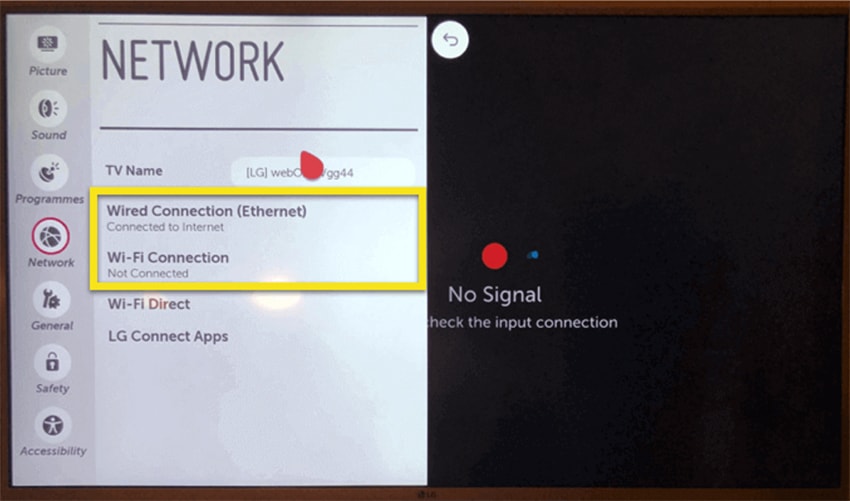
20. Select your Web connection on the left (select ‘Wired Connection’ or ‘Wi-Fi Connection’).
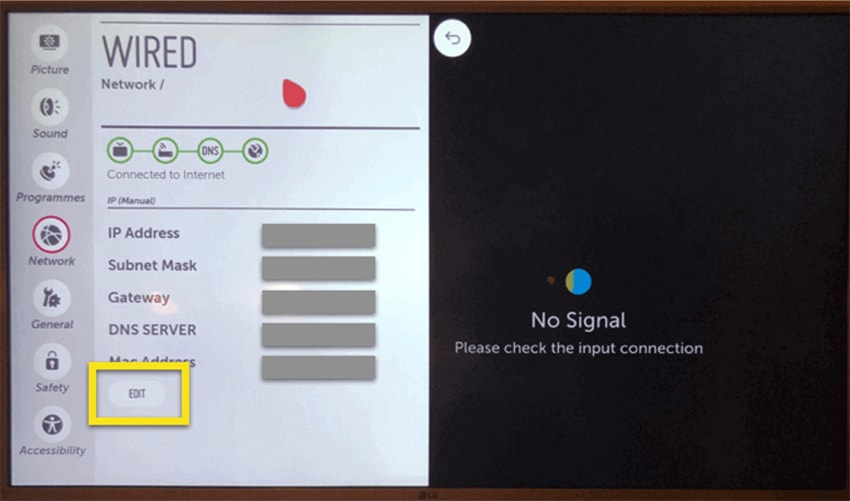
21. You should see your network’s details at this point. Click on ‘Edit‘ (at the bottom).
22. Uncheck the box next to ‘Set Automatically.’
23. Scroll down and click on the ‘DNS‘ field. Copy the IP from ExpressVPN’s website.
24. To confirm the new DNS values, press ‘Connect‘ at the bottom.
25. Finally, restart your LG Smart TV for the DNS changes to become active. That’s it!
That would be all on how to set up ExpressVPN on your LG smart TV. If you have any questions or doubts, don’t hesitate to post your comment below. And lastly, thanks for reading!

