Table of Contents
During the last couple of years, Chromebooks became increasingly capable devices. Today, they run a wide range of apps, including Android and even Linux applications. And, of course, Kodi is available as well. So, in case you want to run the world’s most popular home theater app, let us teach you how to install Kodi on a Chromebook.
Considering the rapid development of Chromebooks, we’ve made sure to update this guide for 2021, bringing you more installation methods than ever before. However, we have an important announcement for you, so make sure to read the following segment carefully.
How to Install Kodi on a Chromebook
At the moment, there are three reliable ways to set-up Kodi on your Chromebook, depending on your computer’s model. You’ll want to try the following.
Method #1: Using the Google Play Store
This method can be used by the Chromebooks that have access to the Google Play Store – which means you can install Android apps. With that said, here’s how to install Kodi on a Chromebook via the Play Store.
- Launch the Play Store app on your Chromebook.
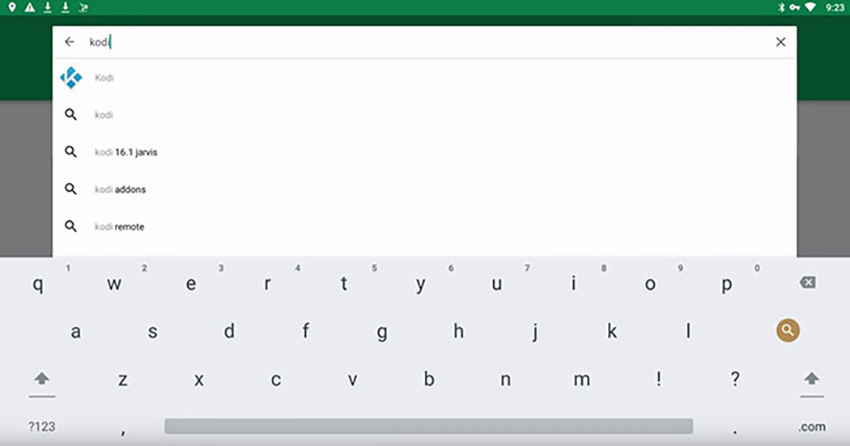
- Select the search bar that you’ll see at the top of your screen. Type in ‘Kodi.’
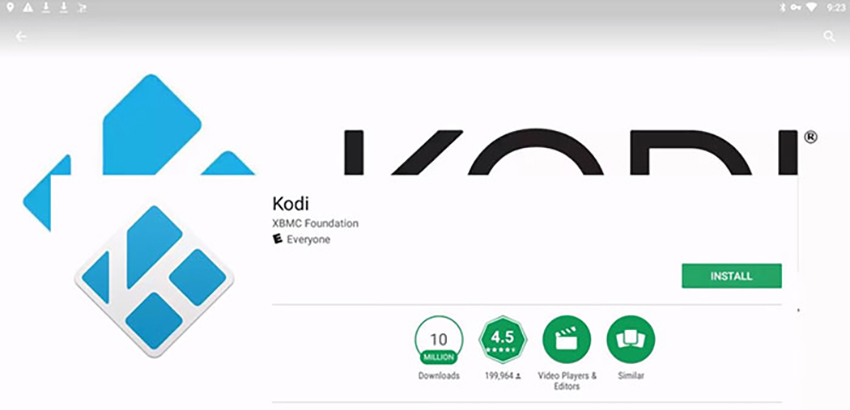
- Find Kodi on this list and click on its icon. You’ll see that there are many Kodi-related applications available, but make sure to install the official one. You can recognize it by its developer since Kodi is made by the Kodi (XBMC) Foundation. Also, it comes free of charge.
- Hit the green-colored ‘Install‘ button and your Chromebook will do the rest. Depending on your Internet connection speed, it might take a few minutes for the application to be downloaded and installed.
- That’s it! You should now find Kodi among the installed apps on your Chromebook. Find its icon and launch the app.
Method #2: Using Arc Welder
Next, we’re going to explain how to install Kodi on your Chromebook using a Chrome extension named Arc Welder. Make sure to go through the following steps.
- First, make sure to download and install the Arc Welder extension on your Chromebook.
- Now, go to Kodi’s official website and click on the ‘Android‘ logo.
- Choose from a 32-bit or 64-bit version of the app. You can see which of these versions you can run by typing ‘chrome://help‘ in Chrome’s address bar.
- Launch the Arc Welder extension on your Chromebook.
- Click on the prominent ‘Plus‘ button found within the app’s interface.
- Navigate to Kodi’s APK file that you downloaded to your computer. Click ‘Open.’
- Arc Welder will need some time to process the application. Once everything is ready, you will see Kodi’s overview. Click on ‘Test.’
- That’s it! Kodi will now open. Enjoy!
Method #3: Use Kodi as a Chrome Extension
As a continuation of our previous step, we’ll teach you how to install Kodi on a Chromebook by turning this application into an extension. This means you won’t need to run Arc Welder each time you wish to open Kodi.
- You first need to run Kodi through Arc Welder. In other words, all of the mentioned-above steps are needed. This includes downloading Kodi’s APK file and testing the application using Arc Welder. As a result, this will produce a new Kodi APK file that we’re about to use.
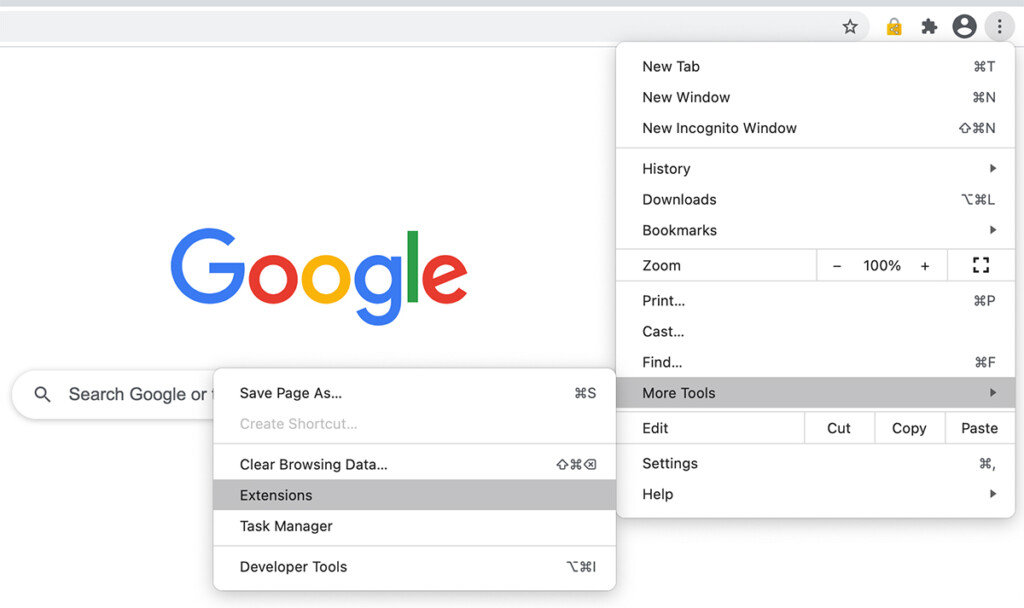
- Now, open Google Chrome and click on the ‘More’ button (three vertical dots).
- Now scroll down to ‘More Tools.’ From there, click on ‘Extensions.’
- In the top-right corner, you will see an option that says ‘Developer Mode.’ Enable it.
- Now click on the button that says ‘Load unpacked.’
- Finally, find Kodi’s APK file. However, this shouldn’t be a freshly downloaded file. Instead, you need to find the file that was exported via Arc Welder. You’ll recognize it by its name, which should be something like ‘apk_export.’ Click on the file.
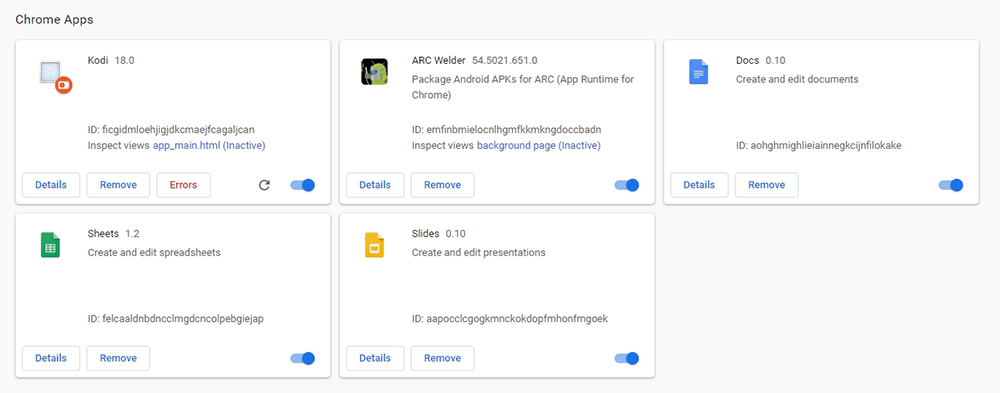
- That’s it! Chrome will now import Kodi and recognize it as an extension. Feel free to use just you would use any Android application.
Want to Learn More About Kodi’s Features?
While we have your attention, we’d like to make a few recommendations. To learn how to use and enhance your Kodi user experience, don’t forget to check out the following articles.
This is where we conclude our article on how to install Kodi 19 on a Chromebook in 2021. In case you have anything to add, feel free to post a comment. Let’s exchange ideas and help each other with technical difficulties. Lastly – thanks for reading!
- Is This the End of the Crypto Bull Market? - February 26, 2025
- SEC vs. Ripple Lawsuit Takes a Shocking New Turn - February 25, 2025
- Deep Dive: Why U.S. National Debt Has Reached Unprecedented Levels - February 25, 2025


