More advanced iPhone and iPad users have probably encountered ‘DFU Mode’ before. DFU stands for ‘Device Firmware Update,’ and it’s a gateway to performing all kinds of modifications to your device, including installing an older iOS version. As such, if you’re not 100% sure what you’re doing, your device might get stuck in this mode, making it unresponsive. So, let’s talk about how to restore iPhone/iPad from DFU mode with or without iTunes.
2 Easy Methods to Restore iPhone/iPad From DFU Mode (With or Without iTunes)
There are two methods to fix an iPhone, or iPad stuck in ‘DFU Mode’ – and both of them will get the job done. However, what’s important to note is that using iTunes will erase your device’s contents. Using a third-party app will help you keep your data (which comes in handy if you haven’t backed up your device in a while).
Method #1: Restore Your iPhone/iPad From DFU Mode via iTunes
We’ll go the “official” way first, using iTunes – as recommended by Apple. With that said, keep in mind that your device will be restored in the process, so you’ll need to set it up again (from scratch). Go through the following steps.
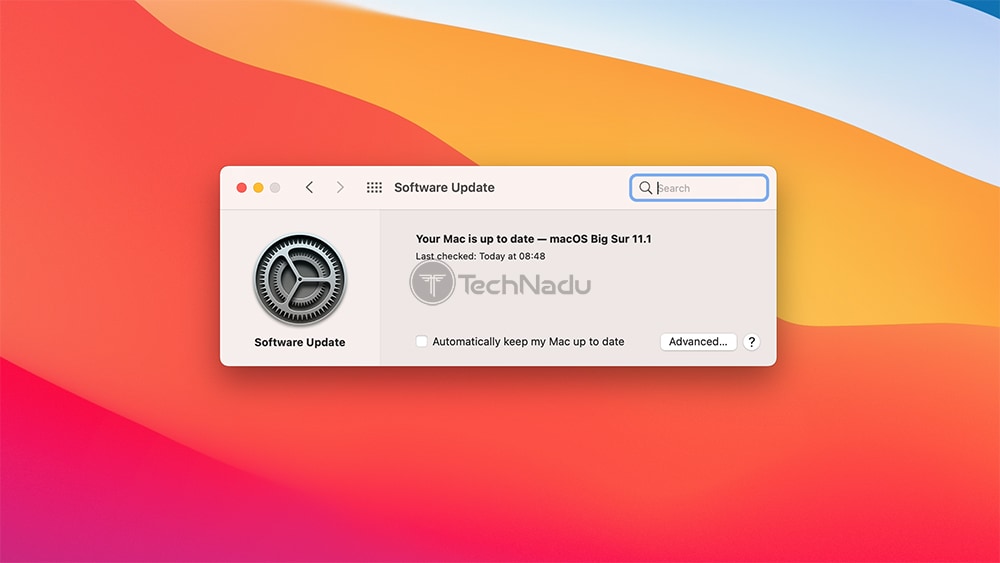
- First, make sure to use the latest version of iTunes. If you’re using a Windows PC, go ahead and download iTunes. If you have a Mac, make sure to update it to the latest available software version (Apple > System Preferences > Update).
- Then, feel free to turn off your device. That means that if you see an Apple logo or an iTunes logo on your device’s screen, you need to turn it off (until its screen goes black).
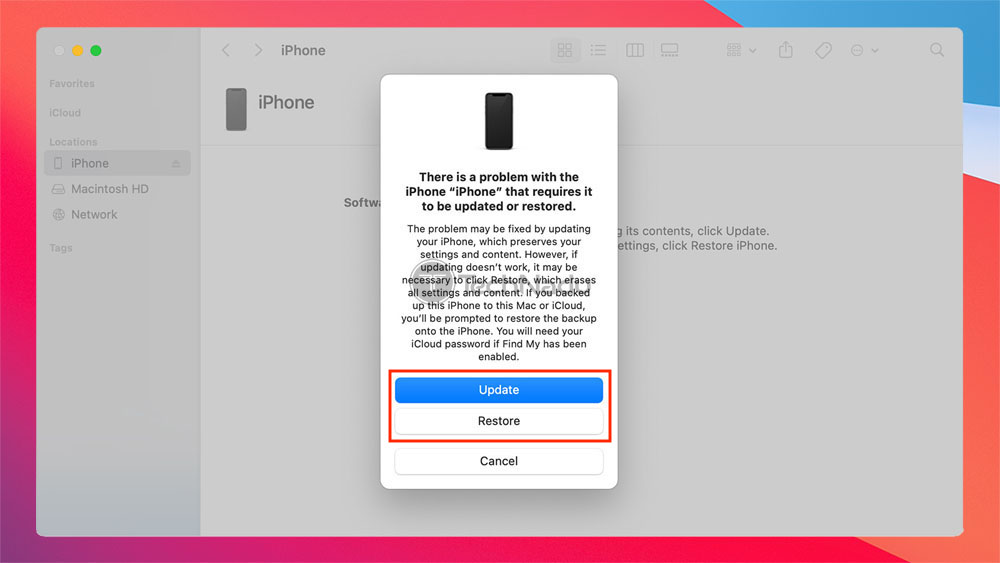
- Connect your iPhone to your computer. Then, launch iTunes if you’re using Windows (if the application doesn’t open automatically). And if you’re on a Mac, open Finder and select your iPhone or iPad using the left-placed sidebar.
- You should now see a message saying that your device has a problem (and that it must be either updated or restored). Feel free to select ‘Restore‘ and then confirm your decision once asked again.
- That’s it! iTunes will now download the latest available version of your device’s operating system, erase its contents, and install the newest update. Depending on the speed of your Web connection, this procedure could take a while. Once done, your iPhone or iPad will restart, which means that you’ll see its ‘Welcome Screen.’
Method #2: Restore Your iPhone/iPad From DFU Mode via Third-Party App
For our second method, we chose to recommend Wondershare’s Dr. Fone. You’ll find plenty of similar applications on the Web, but this one is perhaps the safest. It’s also straightforward to use, as you’re about to see.
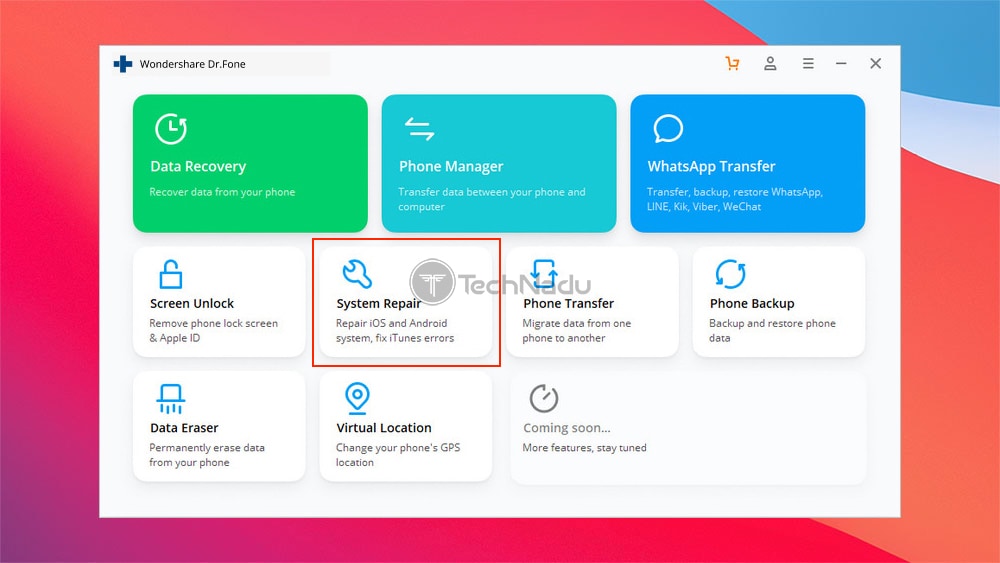
- First, download Wondershare’s Dr. Fone to your computer (it’s available for Windows and Mac). Install the application and then launch it. You should be greeted by its ‘Welcome Screen’ showing a grid of colorful icons.
- Make sure to click on ‘System Repair.’ This module will now download and install automatically. Once done, click again to launch it. Now, make sure to connect your iPhone or iPad to your computer.
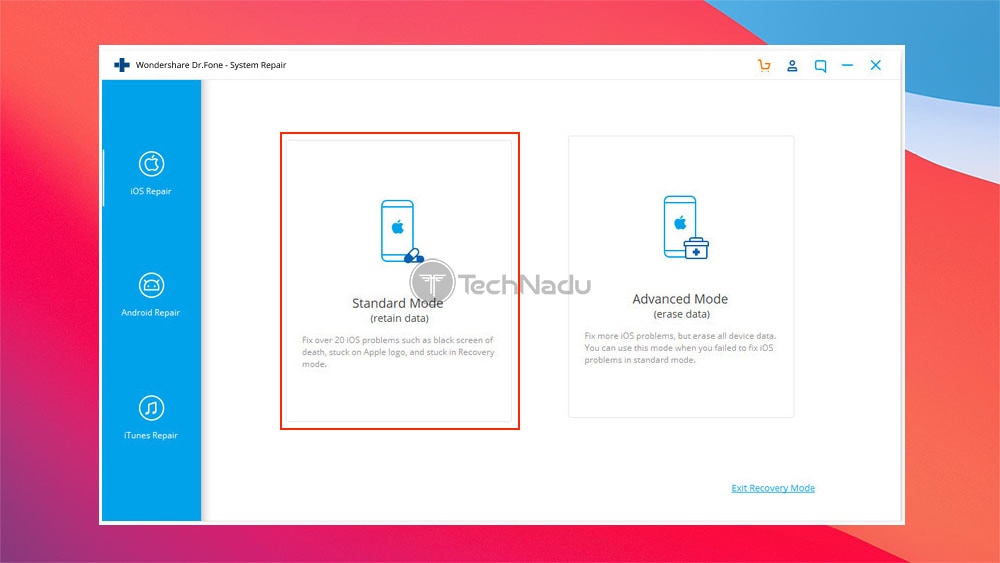
- You should see two options right now – asking you to choose between ‘Standard’ and ‘Advanced’ modes. You will see that the ‘Standard‘ mode enables you to keep your data, so we highly recommend you go with that one first.
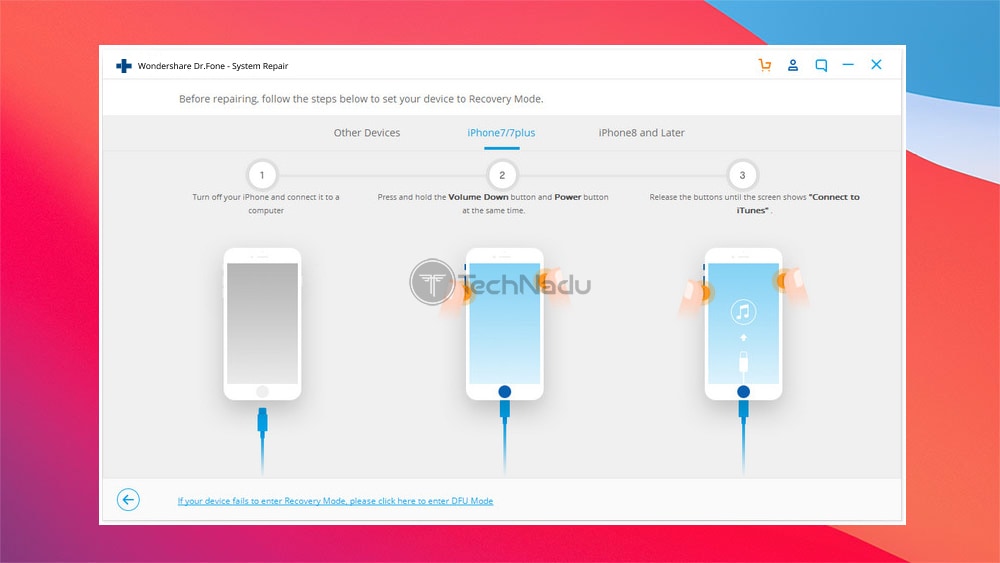
- The application will then check whether your iPhone/iPad is ready for the rest of the procedure. Since your device should already be in ‘DFU Mode,’ you will automatically proceed to the next step. If something’s not right, you will be asked to put your device in ‘DFU Mode’ manually (you’ll see an explanation on how that is done).
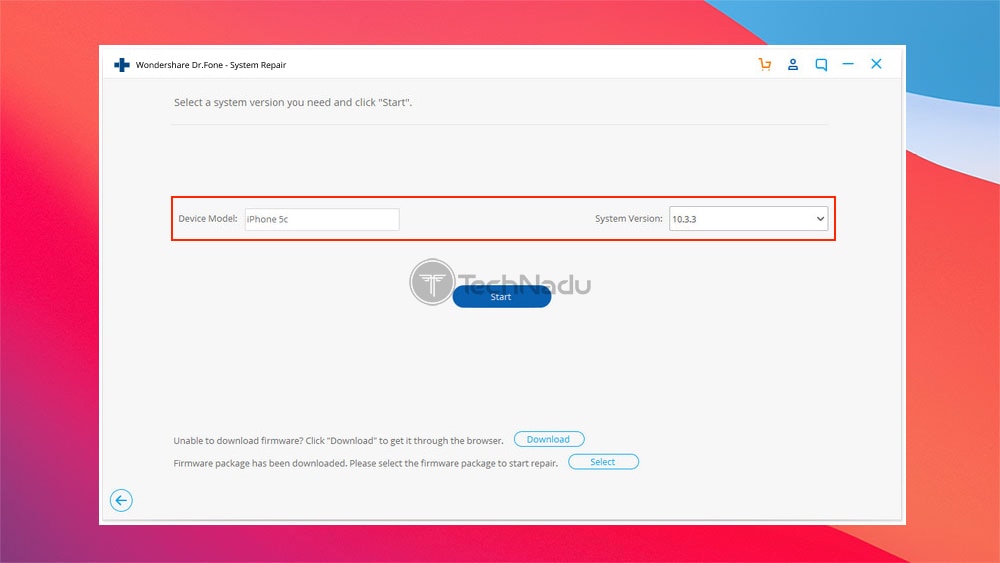
- Dr. Fone will now ask you to download the latest version of your device’s system software. You’ll need to pick a device model and a system version (go with the version already installed on your device, as this is the best way to prevent accidental data loss). Input the required information and click on ‘Start.’
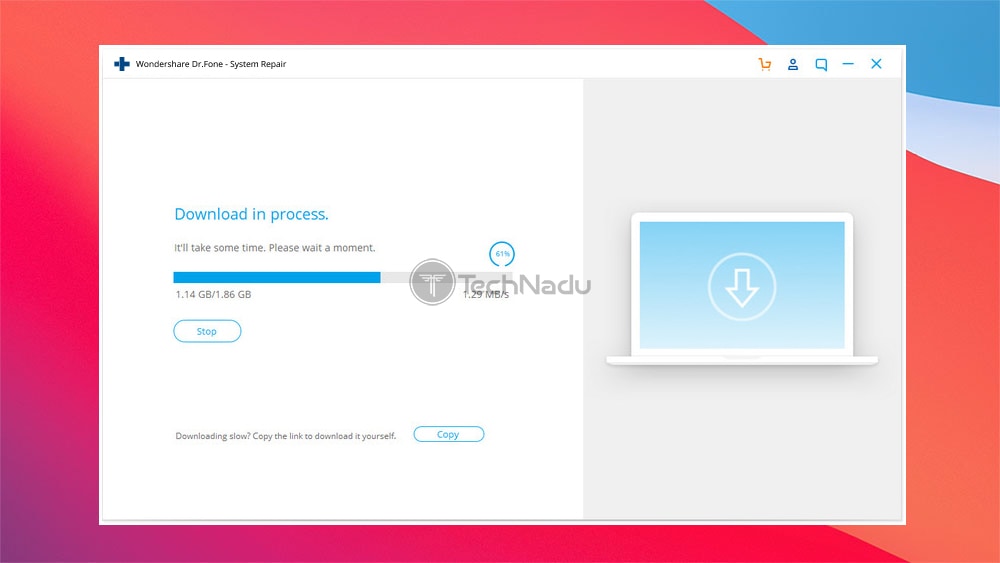
- The application will now download the required firmware package. There’s nothing you need to do except wait until you get a notification saying you can start fixing your device. To begin, click on ‘Fix Now.’
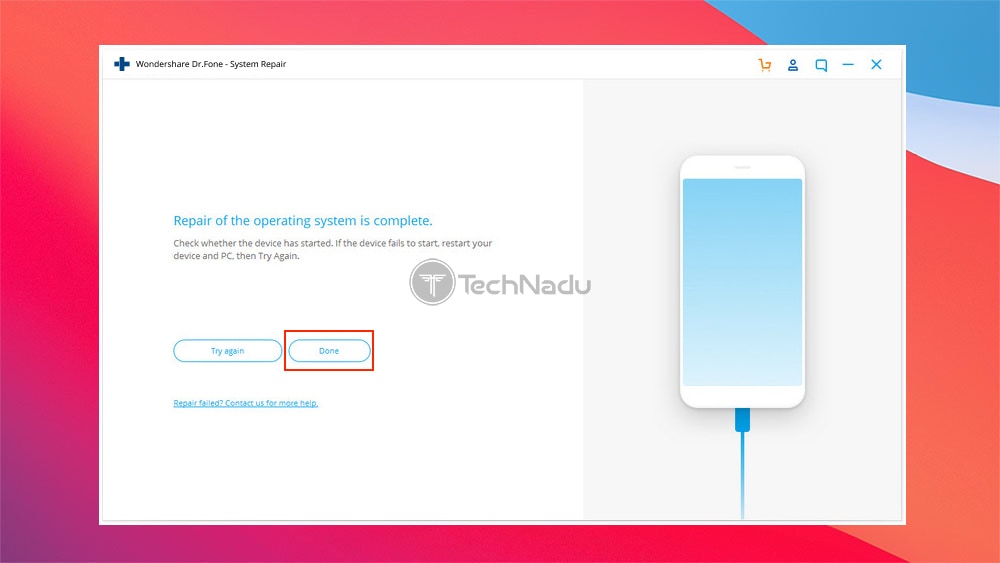
- Depending on the model of your device, the process of restoring its firmware might take a while. You don’t have to do anything but wait – and also, make sure that your device stays connected to your computer (this is very important). Once done, Dr. Fone will display a notification indicating the success of the operation.
- Finally, your iPhone/iPad should now automatically restart to its Home/Lock screen.
That would be all there’s to know about how to restore iPhone/iPad from ‘DFU Mode’ with or without iTunes. If you have any questions, don’t hesitate to post your comment below. And lastly, thanks for reading!
- Is This the End of the Crypto Bull Market? - February 26, 2025
- SEC vs. Ripple Lawsuit Takes a Shocking New Turn - February 25, 2025
- Deep Dive: Why U.S. National Debt Has Reached Unprecedented Levels - February 25, 2025

