Getting started with ExpressVPN on your macOS computer is incredibly easy. Let’s show you all the steps you need to take to set-up and use ExpressVPN on any Mac computer.
1. First of all, visit ExpressVPN subscription page.
2. Select ‘Get ExpressVPN,’ pick a subscription, and finalize the procedure.
3. Now, return to ExpressVPN’s website (you need to be on its homepage).
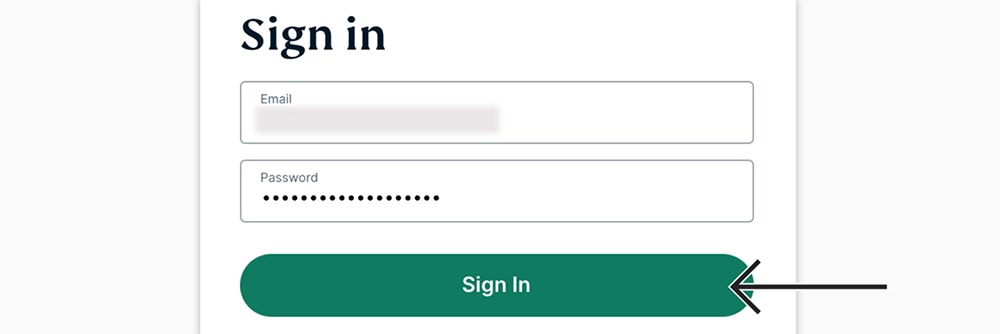
4. Select ‘My Account‘ and then log-in to your ExpressVPN online dashboard.
5. You might need to supply a log-in code, so make sure to check your email inbox.
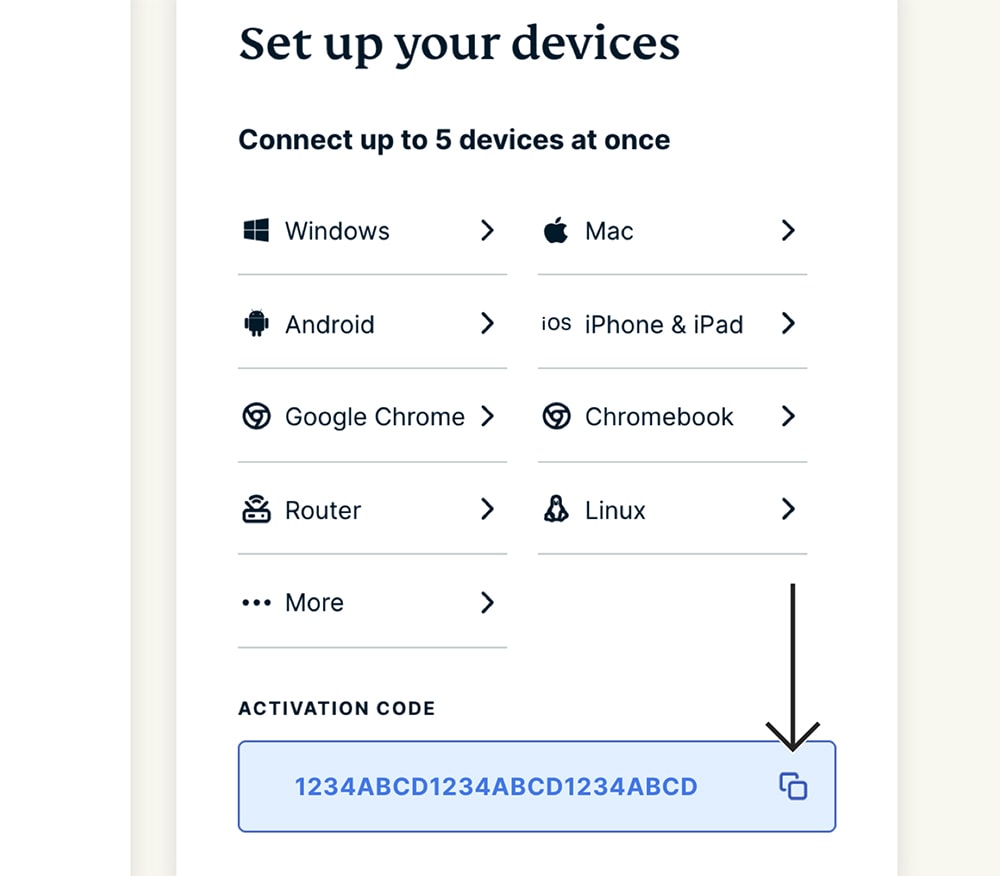
6. Once you get to your online dashboard, click on ‘Download for Mac.’
7. Leave this Web page open, as you’ll need it for your ExpressVPN activation code.
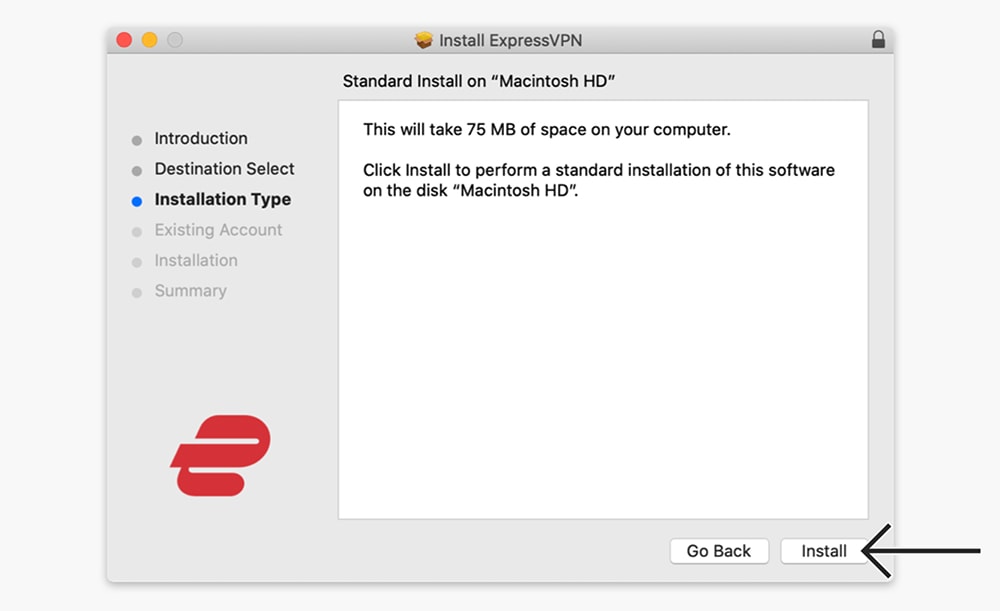
8. Then, open the ‘Downloads’ folder and double-click on ExpressVPN’s installer.
9. Click ‘Continue‘ several times, and then finalize by clicking on ‘Install.’
10. Your Mac will ask for your password, which should be your computer’s password.
11. Now, go ahead and open ExpressVPN (it can be found in the ‘Applications’ folder).
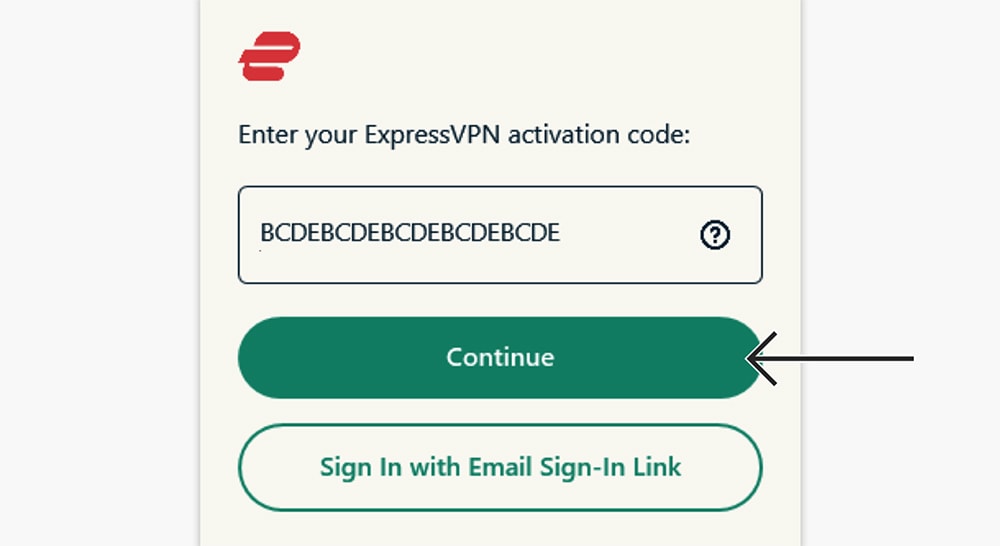
12. Select ‘Sign In‘ and then copy and paste your ExpressVPN activation code.
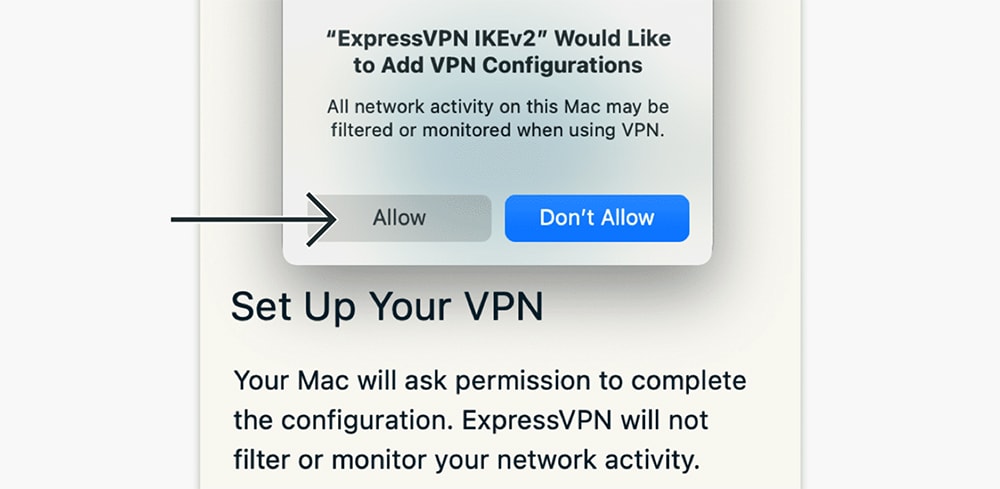
13. If asked to install a VPN configuration, select ‘Allow.’
14. The VPN will ask if you want it to launch on startup (choose ‘OK’ or ‘No, Thanks’).
15. It will also ask for anonymous data collection (pick ‘OK’ or ‘No, Thanks’).
16. Right now, you should see ExpressVPN’s home screen – ready to be used.
17. Click on the ON/OFF button, and ExpressVPN will connect you to the closest server.
18. To disconnect and end your VPN connection, click on the ON/OFF button again.
19. To pick another server, select the ‘Smart Location‘ button on ExpressVPN’s home page.
20. Then, double-click on any country or server name. You’ll be connected automatically.
21. Once ExpressVPN’s home screen turns green, you’ll be connected. That’s it!
This is where we conclude our guide to setting up and using ExpressVPN on Mac. If you have any questions for us, make sure to post your comment below. And lastly, thanks for reading!
- Is This the End of the Crypto Bull Market? - February 26, 2025
- SEC vs. Ripple Lawsuit Takes a Shocking New Turn - February 25, 2025
- Deep Dive: Why U.S. National Debt Has Reached Unprecedented Levels - February 25, 2025

